Resizing an Image in Adobe Photoshop for the WebResizing an image in Adobe Photoshop is not as hard as it seems. From version 6 right up to CS (8) its basically the same.
1) For a start, open up photoshop.
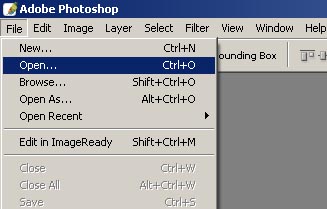
2) Open your image by going to
File > Open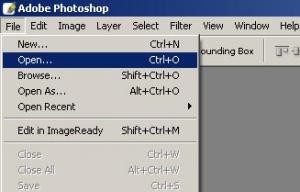
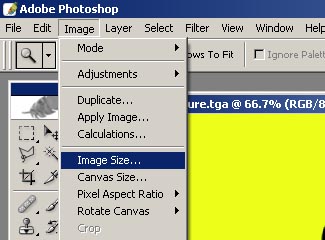
3) Go to
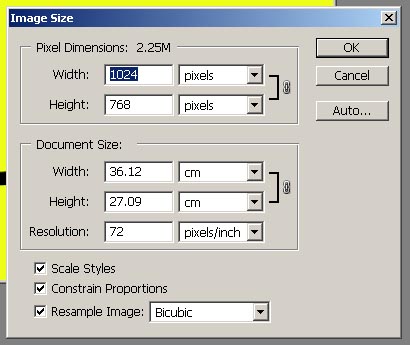
Image > Image Size... and that will open up the Image Size Option Box
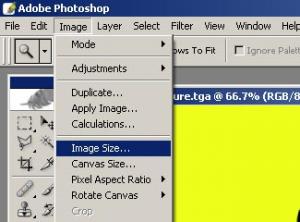
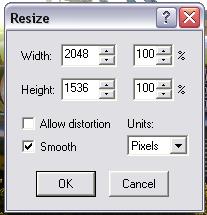
4) In the Image Size Option box the main settings you want to be worried about is the Pixel Dimensions (Width & Height) and the Resolution.
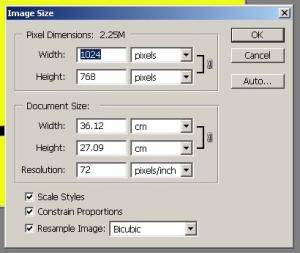
Pixel Dimensions: This is essentually the size of the image and how big it will be on screen. Good sizes for photos on the net is either 640x480 or 800x600. but the bigger the size, the bigger the file size will be.
Resolution: a computer only displays 72dpi (Dots per inch) so its no use having 300dpi (print quality) for on screen viewing. so if it isn't already 72dpi, change it to 72dpi. also note if you change this after you have changed your pixel dimensions, they will change and you will need to change them back.
Once all done, hit OK.
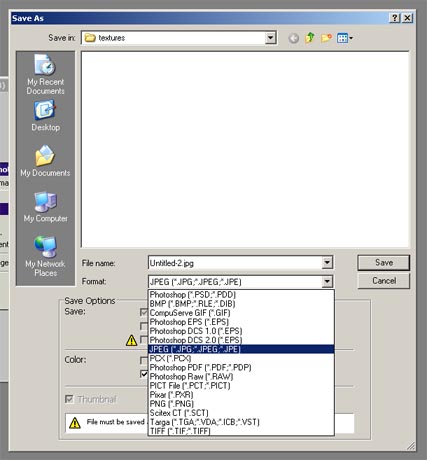
5) Now to Save your resized image. Go To
File > Save As (not save unless you want to overwrite your original copy)
6) When Saving you will want to Select Jpeg as the file type and the rest is fairly straight forward as per all file saves.
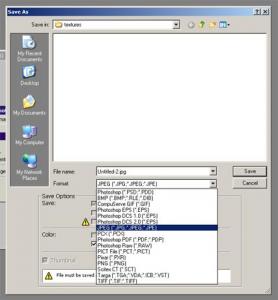
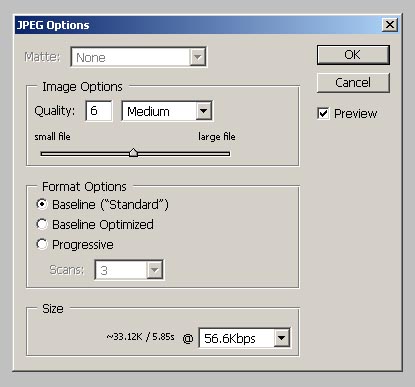
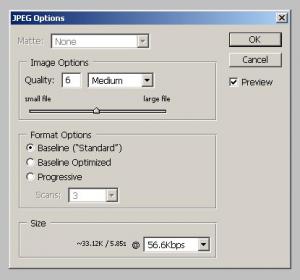
7) Once you hit Save, you will get the JPG Options window pop up. This is where you can play with the compression and determine the filesize of the file.
You only mainly need to be concerned with The Image Options. play around with the amount of compressions by using the slider and at the bottom of the window it will tell you an estimated filesize and if you have preview ticked, it will show you the active changes in the open file you are saving.
----
Hopefully that makes sense and can be useful for some